


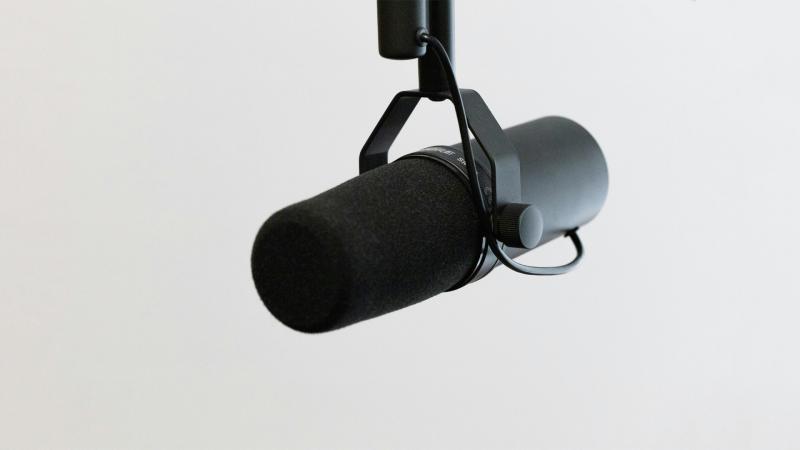
Streamers constantly copy the top creators, buy the exact same gear, and expect to sound like a million bucks. They plug in a Shure SM7B, sit down, and wonder why their voice sounds muffled, distant, or thin. Buying expensive equipment gets you halfway there. Using that hardware correctly dictates the final result.
I see creators ready to return their new microphones every week. I tell them to rotate the capsule slightly or slide an inch closer, and the difference blows them away. Proper physical mic technique bridges the massive gap between buying gear and knowing how to configure it.
TL;DR / Quick Rules of Thumb
- Keep the microphone exactly four fingers away from your mouth.
- Angle the capsule 30 degrees off-axis to eliminate plosives.
- Place your mechanical keyboard in the 180-degree dead zone to reject switch clicks.
- Mount your boom arm to the front or side of your desk.
- Lean back physically when you yell.
Distance: The Four-Finger Rule
Most broadcasting microphones require close proximity. Look at top creators like Ludwig. His mic stays inside the camera frame, pointing right at his mouth. When he leans back or stands up, he pulls the boom arm with him. If he moves away from the capsule, his audio falls apart.
You need to stay exactly four fingers away from the microphone. This specific distance hits the optimal capture zone for a cardioid polar pattern.


Get closer than four fingers, and the proximity effect triggers. Your voice becomes artificially bass-heavy, muddy, and picks up ASMR-style mouth noises. Sit too far away, and your tone turns thin. The microphone stops prioritising your vocal frequencies and starts picking up room reverb and PC fan hum.
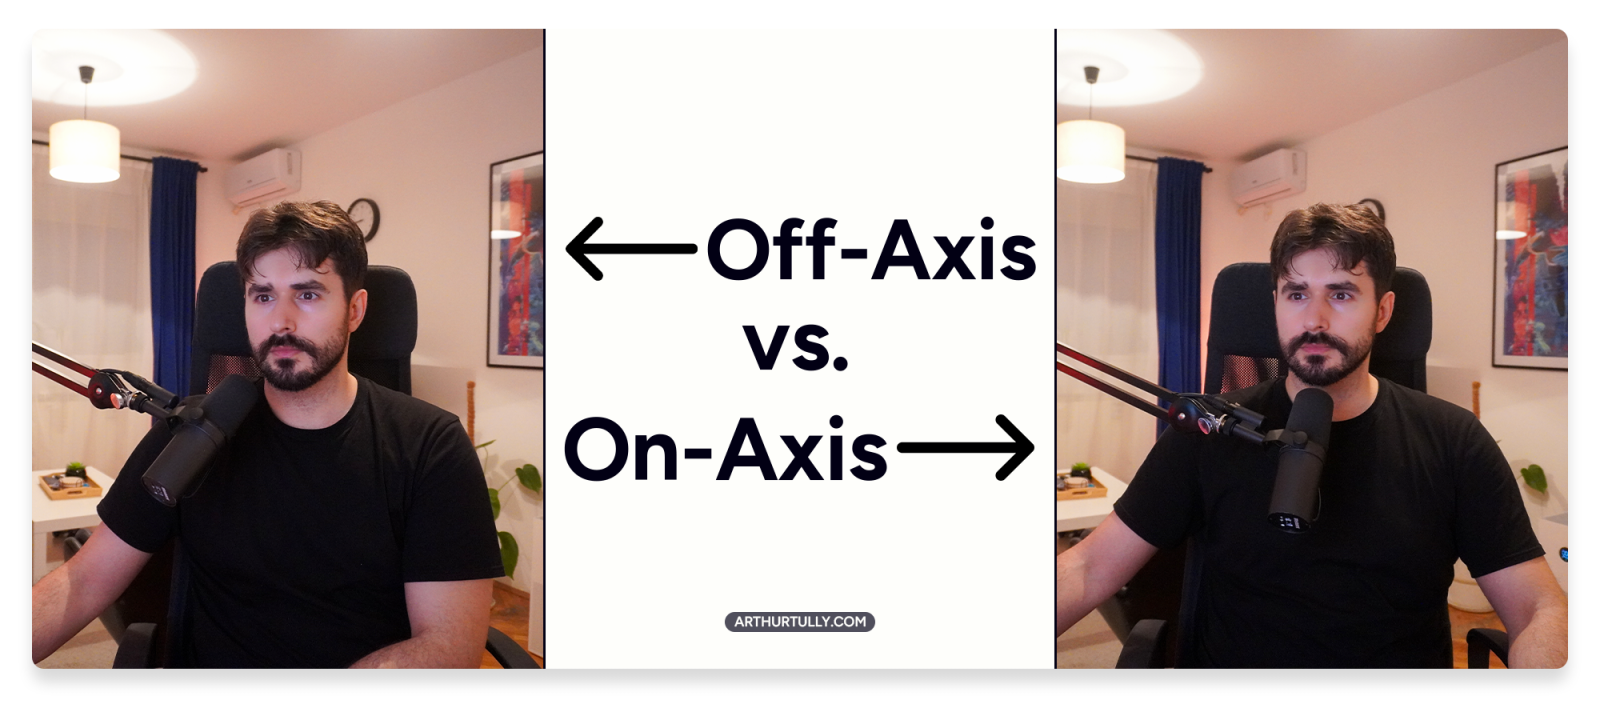
Angle: Stop Breathing Noises
Microphone angle dictates clarity, especially if you are soft-spoken and run high gain. Pointing the capsule directly at your throat captures every noise you generate. That includes heavy breathing, swallowing, and plosives. Plosives are the harsh bursts of air from "P," "B," and "T" sounds that slam into the hardware, creating a loud, windy thud.
The fix requires a minor physical adjustment. Move the mic slightly to the side. Point it at the corner of your mouth at a 30-degree angle. Maintain the four-finger distance. By angling the hardware, the bursts of air from your plosives blow past the capsule instead of directly into it.

Pro Tip: If you still hear wet mouth sounds, drink water. Professional voice-over actors eat green apples before going live. The acidity clears out mucus buildup.
Keyboard Bleed and The 180-Degree Dead Zone
Microphones "hear" in physical shapes called polar patterns. Most streaming gear uses a cardioid polar pattern, making it highly sensitive in the front and completely deaf in the rear. This rear area is the dead zone.
Place your mechanical keyboard and mouse directly behind the microphone at 180 degrees. The hardware will naturally reject those specific clicks. If you run a desk fan to stay cool, place it in this exact rear pocket or point it at the side of the mic to block the motor hum.
Once your physical alignment is locked in, I configure a digital noise gate. A proper gate lets your voice through but clamps shut on your Cherry MX Blue switches.


Ditch the Desk Stand. Buy a Boom Arm.
If your microphone shipped with a small metal desk tripod, throw it away. Desk stands offer zero flexibility. Instead of the hardware accommodating your natural posture, you hunch over your desk to reach the capsule. Even worse, every time you tap the table, set down a glass, or aggressively type, the physical vibration travels straight up the stand and peaks the mic.
You need a boom arm. An arm gets the capsule right to your face and dissipates table vibrations.
Mount the base to the front or side edge of your desk. Never mount it to the back edge. A rear mount lacks the physical reach to follow you when you lean back in your chair.
- Budget Option: K Kasonic Mic Boom Arm
- Premium Option: Rode PSA1, Elgato Low Profile
You Cannot Fix a Bad Room
Streaming from an empty room with hard floors, bare walls, and zero furniture guarantees a noticeable echo. AI noise suppression and de-reverb plugins like NVIDIA Broadcast work well, but they possess limits. If you force the software to work too hard to kill heavy room echo, it cuts into your actual voice frequencies. You end up sounding like you are speaking underwater.
You do not need to buy cheap, ugly acoustic foam panels. Normal, soft furniture works perfectly. Bookshelves, canvas paintings, rugs, and heavy blackout curtains naturally treat room acoustics and provide a much cleaner source signal.
Surviving the "Hype" Moment
Podcasters sit entirely still. Streamers jump, scream, and pop off during clutch moments. Yelling directly into your capsule from two inches away instantly peaks your audio, distorts the signal, and blows out your viewers' eardrums.
Develop a physical mic technique. When you feel a hype moment building, lean back. Pull your head away from the hardware. Increasing the distance naturally lowers the decibel volume hitting the capsule.
If your digital audio chain is properly optimized, your software compressors and a hard limiter set to -3dB catch the rest of the peak. Relying strictly on heavy, misconfigured noise suppression causes the software to mistake your scream for background noise. The filter mutes you for a split second and ruins the clip completely.
Stop Guessing. Let an Expert Fix Your Audio.
Hardware positioning is the foundation. Remember the rules:
- Keep the mic four fingers from your mouth.
- Angle it 30 degrees off-axis.
- Keep your keyboard in the mic's blind spot.
- Lean back when you yell
Hardware positioning sets the physical foundation. Next comes mic gain, noise gates, EQ, compression, and limiting. If you refuse to spend weeks watching YouTube tutorials trying to figure out VST plugins and OBS filters, book a 1-on-1 session with me.
We jump on a Discord call, and I dial in your complete audio chain in under an hour. You hit record.
I handle the config. You stream.